This is a great little tip for viewing your images in Photoshop in a variety of ways, and shows you how to quickly alter your work space and remove all your tool palettes and screen furniture to view or work on your images with little or no clutter. It’s especially good to use if you have a lower resolution screen and find your image is always obstructed.
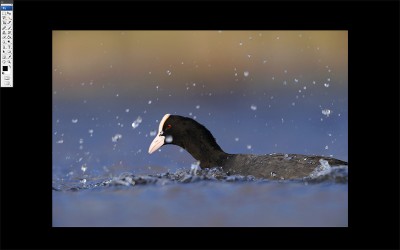
Editing with minimal screen furniture
Photoshop is, of course, a great tool. But as a photographer wishing to do as minimal editing as I can on my images I find it can be quite easy to over look some of the simple tricks available, in amongst all the complicated menus. Well, this is one of those simple tricks but one that can be of great help when processing. All you need for it is the F and the TAB key, and with them you can do the following…starting from your basic, freshly opened image on your standard Photoshop screen.
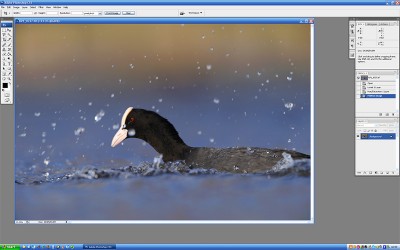
Basic image window
Press F to fit the window to your screen…
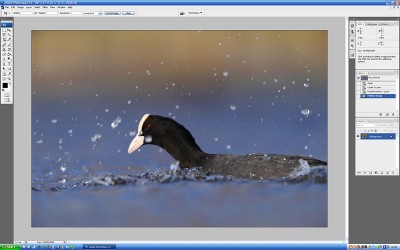
Image window fit to screen
A second press of F will remove the window, and the title bar at the top of the screen and place the photo on a fully grey background…
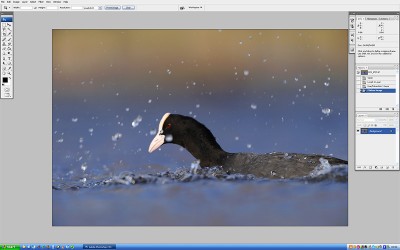
Image on grey
Finally, the last push of F will remove the File, Edit etc, and the task bar from the top and bottom of the screen, it will also change the background to black…
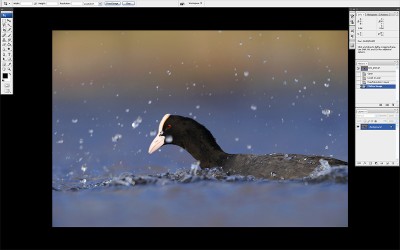
Image on black
Hide the tool palettes
You can also hide your tool pallets at any time in Photoshop by pressing TAB. This in conjunction with the above mentioned use of the F key can let you very quickly view your image full screen with no distractions.
Zoom the image in and out
You can now zoom in and out of the image using CTRL and + or – to get as big or small a view as you want.
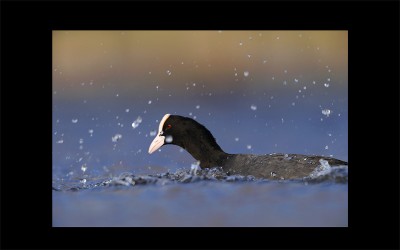
View image with no distractions
To see your tool bars and edit in this mode, simple move your cursor to the edges of the screen and your tools will pop out from the side, the hide away again when you move off them.

Editing with minimal screen furniture
Moving the image freely around and off the screen
When your in the latter two viewing modes with just a grey or black background you can grab your image and move it around (do it quickly without the grab tool, just hold down space bar and click and drag your image around). Because the image is not inside its own window you can even drag it off the screen. very handy for editing at full res if you need to do fine work in the corners.
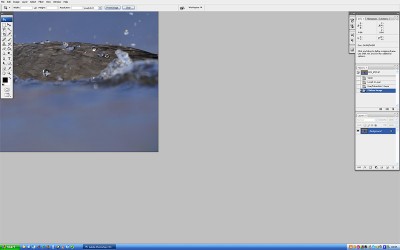
Moving the image around or off the screen
So thats it, give it a try next time your editing your photos and see what you think. I always edit with either the grey or black backgrounds so that I can move the image about and quickly view it clean, as then it’s easier to judge how the final image is going to look.


